Help & Advice
Finishing made to measure doors
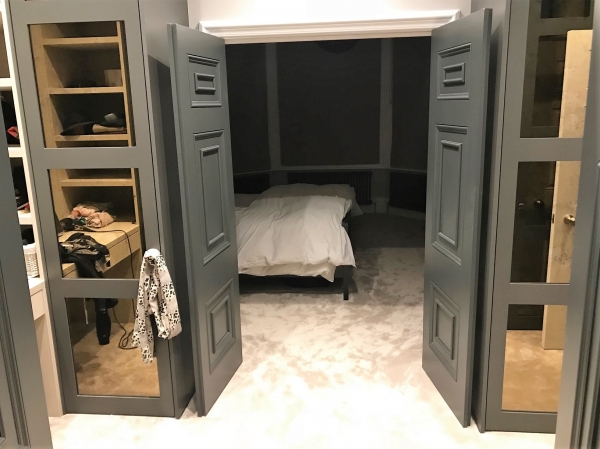
Painting guide for handmade doors
Painting your internal doors can seem like a mammoth task, but with the right preparation, equipment and know how, you can achieve a professional finish. If you do not feel confident in your handy work, we recommend asking an experienced and trained painter to carry out the work for you.
We recommend removing the door from its hinges and laying it on a flat surface as this will minimise the chance of runs and drips. Removing all door furniture like locks and handles is recommended before starting to paint, or masking these up well. Make sure your door is clean by wiping it down with a damp cloth, this will remove dirt and dust from the surface leaving it clean for painting.
As Trunks doors are ready primed, they require no sanding or prepping. Take this to prepare the area around where you are painting incase of any mishaps with the paint. Lay down ground covers, and wear protective clothing when painting.
Apply the paint using a paint roller, this will give an even finish. Be sure to always paint with the grain. Never go against the grain as this will leave an unwanted finish. Using a brush will help to paint the recessed areas of the door, like the corners and ridges. When you have applied the first coat of paint let it dry to you can touch it without removing the paint of making a mark.
The optional second coat, if you are trying to achieve a brilliant white finish you may need to apply two coats of paint, applying two coats should ensure a smooth, even finish. Let the paint dry according to manufacturer's instructions.
When dry, if running your hand over the door and it feels a little rough, you can take a very very fine sandpaper to remove any paint bubbles or raise paint. When completing this process be sure to keep checking the finish as you don't want to sand too much off the door. When complete, wipe down the door and enjoy!
Remember to clean your rollers and brushes.